Poupée in a Pinch

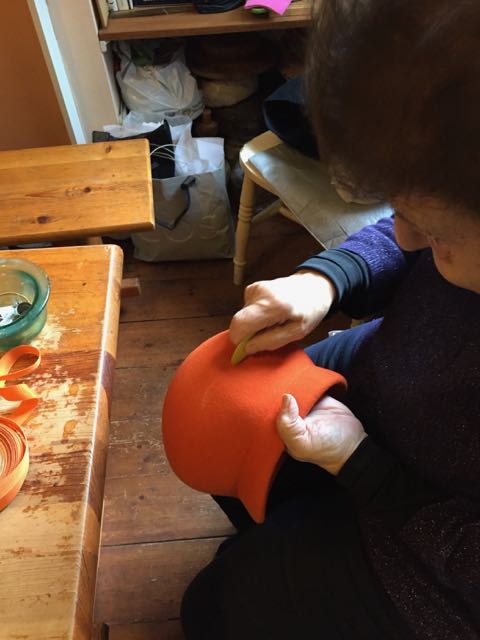
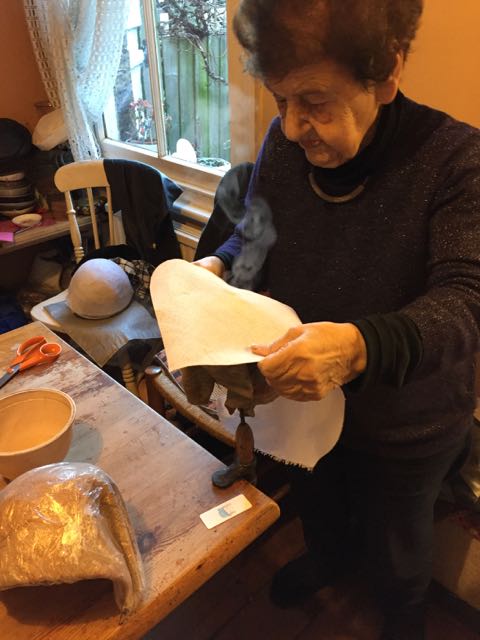
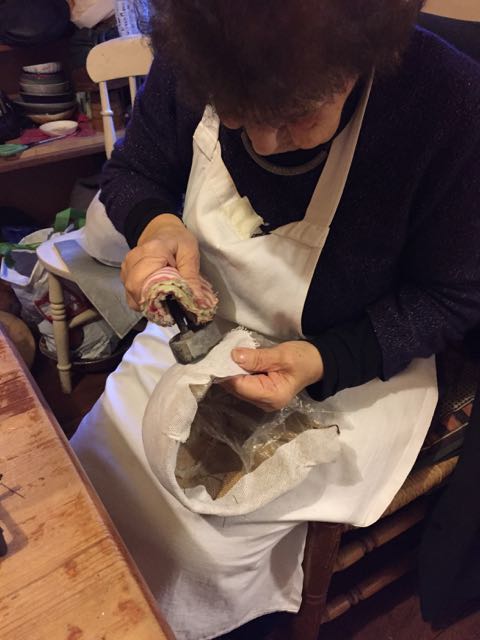
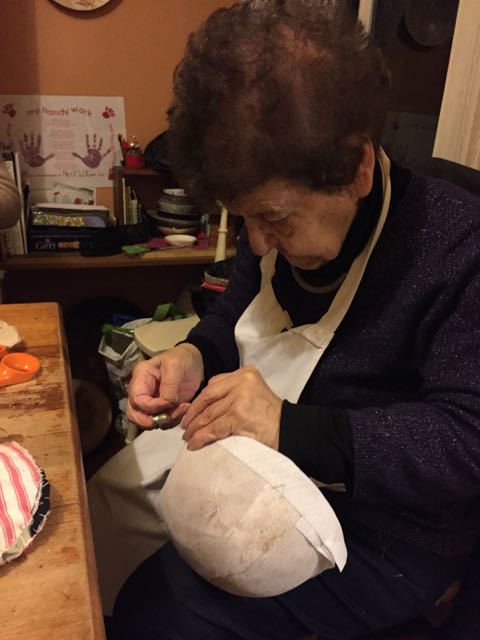
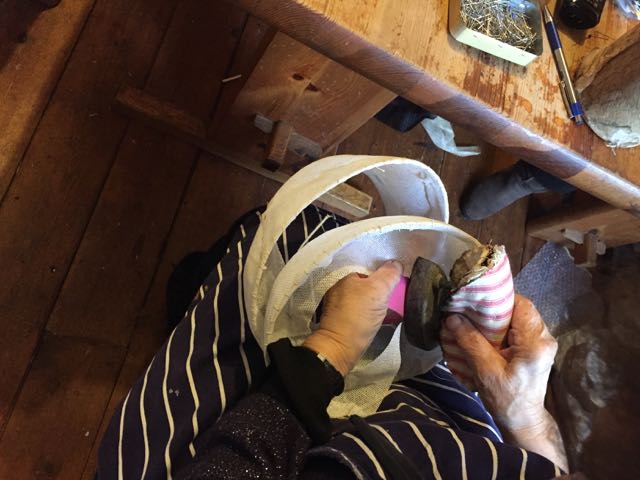
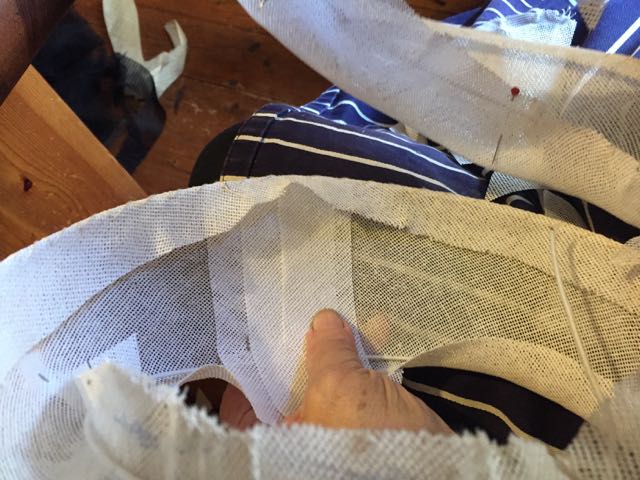
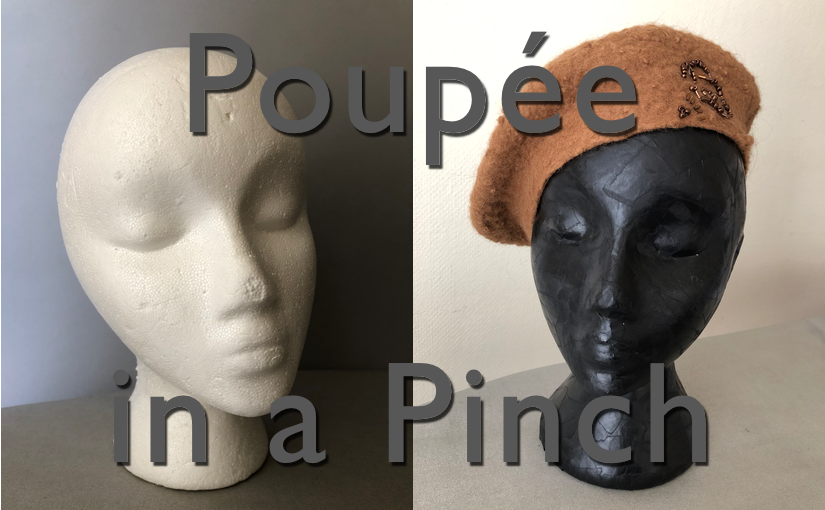
Having a poupée, while working on a hat is extremely helpful, most professional milliners would say essential. What is a poupée? It is a French word for doll, but when speaking of millinery it is a hard buckram head and neck shape that is covered in batting (wadding) and mid weight calico. An authentic millinery poupée is hard to come by and often expensive. I learned to make a Millinery Poupée from London milliner, Edwina Ibbotson. She learned it from Rose Cory, a former miller to the Queen.

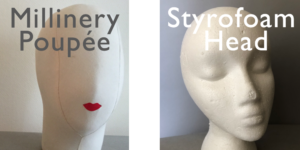
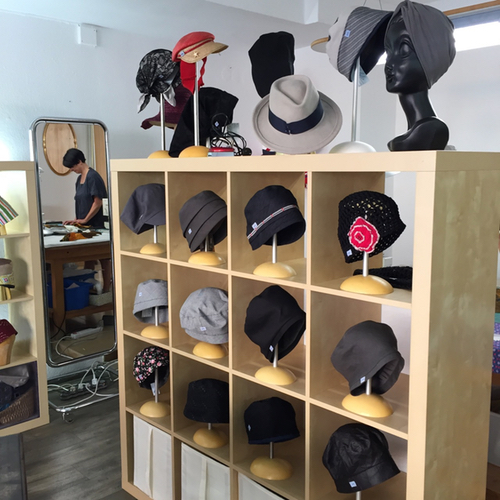
If you are just getting started with millinery, picking up an inexpensive styrofoam head from a wig shop is often a good short term solution. Despite having a few proper millinery poupées, on occasion I still need styrofoam heads for display or teaching workshops. They are utilitarian but not attractive.

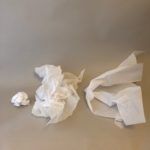
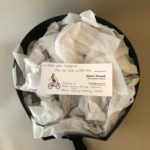
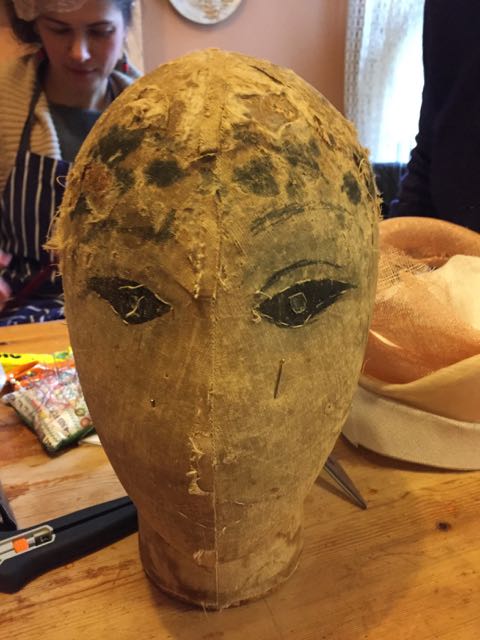
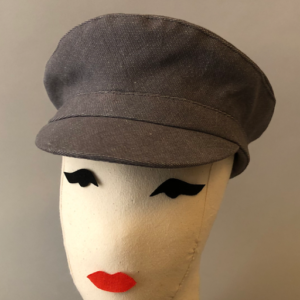
A while ago I saw a styrofoam head covered in off-white paper at a local shop. It looked much better than the plain styrofoam. I love découpage, the art or craft of decorating with cut out pictures, but had not done it in a long time. One evening armed with a pot of watered down white glue (~1:1), a stack of magazines, a small paint brush, and a movie on Netflix, I set to work. I was all over the map with ideas of what to do…flowers, greenery, random collage, sheet music, body parts? There seemed to be a fair bit of tans and pinks in the magazines, so I went with the idea of doing it in what I thought of as a range of light neutral tones. Midway through I decided to add more color for the hair, eyes and lips.

It was getting late into the night. I had tried a few different things and was tired. I try not to judge my own work when I am tired. I set it aside to dry, hoping that in the morning I would be delighted with my arty efforts.

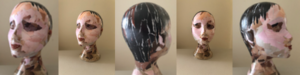
I came out the next morning with excited anticipation and looked. I was not excited after I saw it. “Maybe I am being too hard on myself,” I wondered. I asked my youngest (a teenager) what she thought. She paused and said regretfully, “It’s scary.”  I felt disappointed, frustrated, and regretful of the “waste” of time. In that moment I found it difficult to see it as a learning opportunity. I set it in a corner and left it for a few months.

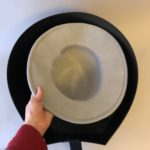
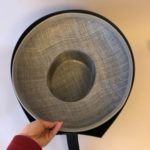
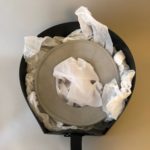
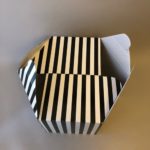
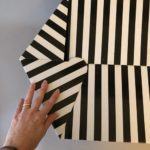
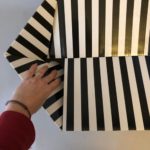
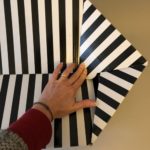
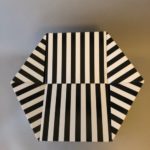
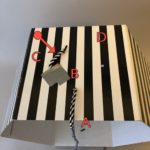
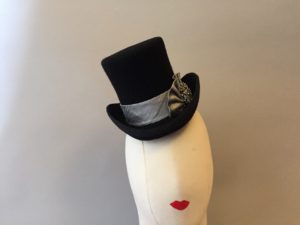
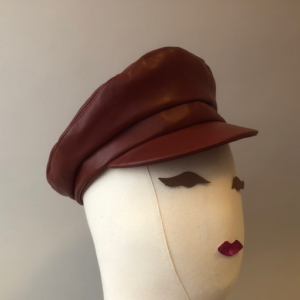
Finally, I needed to fix it or toss it. Back to the drawing board. I thought about flowers, etc. again. I have seen foam heads covered in floral cottons and although cute, I think it is a distraction from the hats, so I wanted something simple, neutral and less personified than my first attempt. I had a pad of black paper. I hadn’t thought about black before, but there was enough paper to cover the head and maybe having a darker head would be great for the light colored hats that seem to disappear against the calico. 

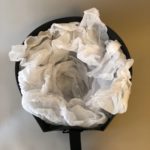
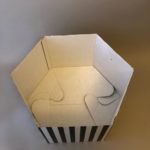
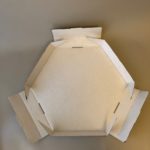
Again, a pot of diluted glue, paper, brush and this time the Audible book, Born A Crime by Trevor Noah, which was very good, by the way, I set to work doing paper mache. A few hours later, with sticky fingers stained an odd blue-y-black, I left it to dry.

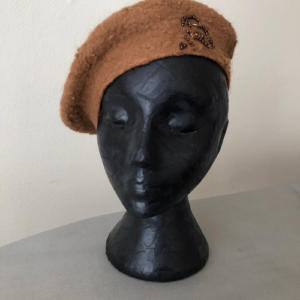
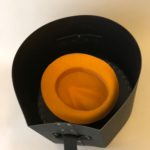
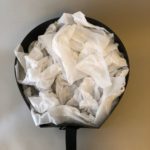
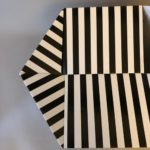
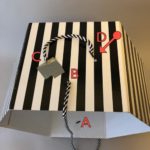
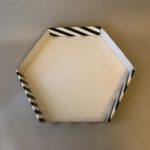
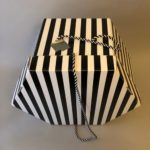
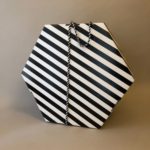
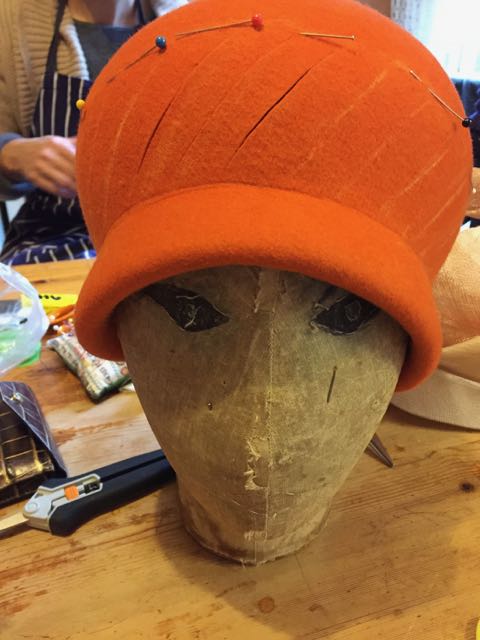
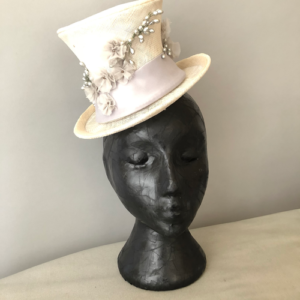
The next morning with guarded excitement and blue fingers, I took a peak. She was lovely. I adore flat black. She looked sleek and elegant. I will call her Trevi.

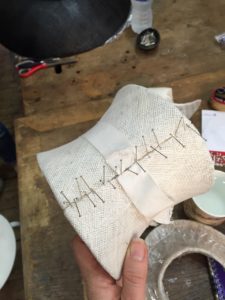
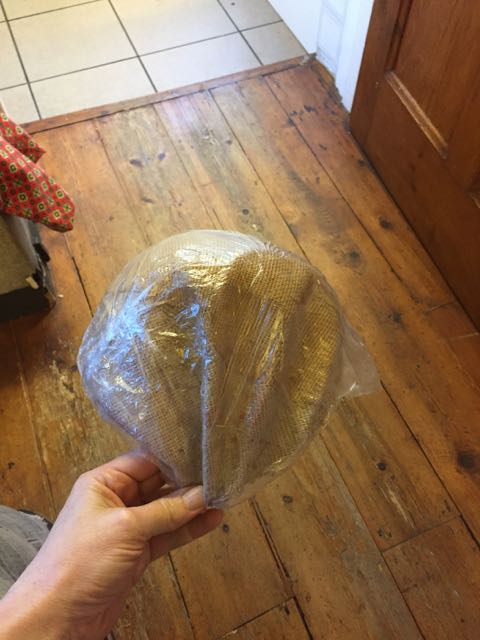
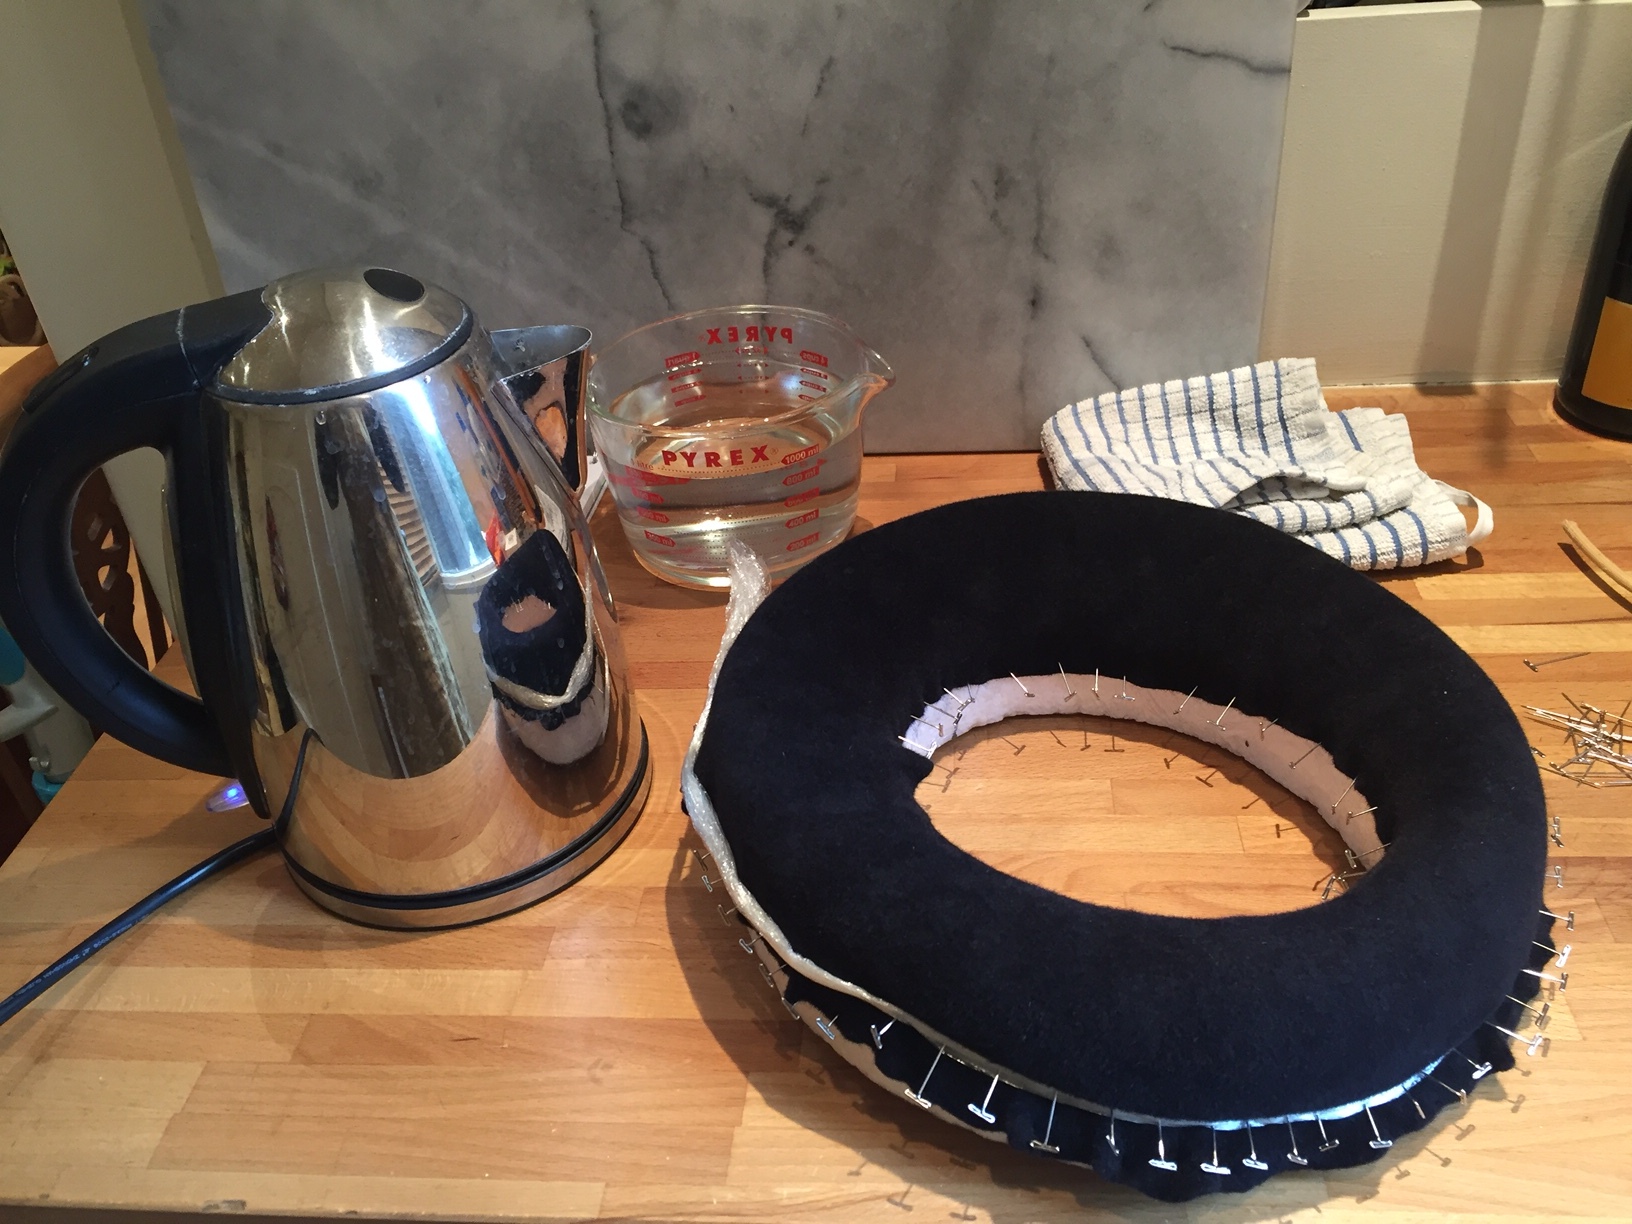
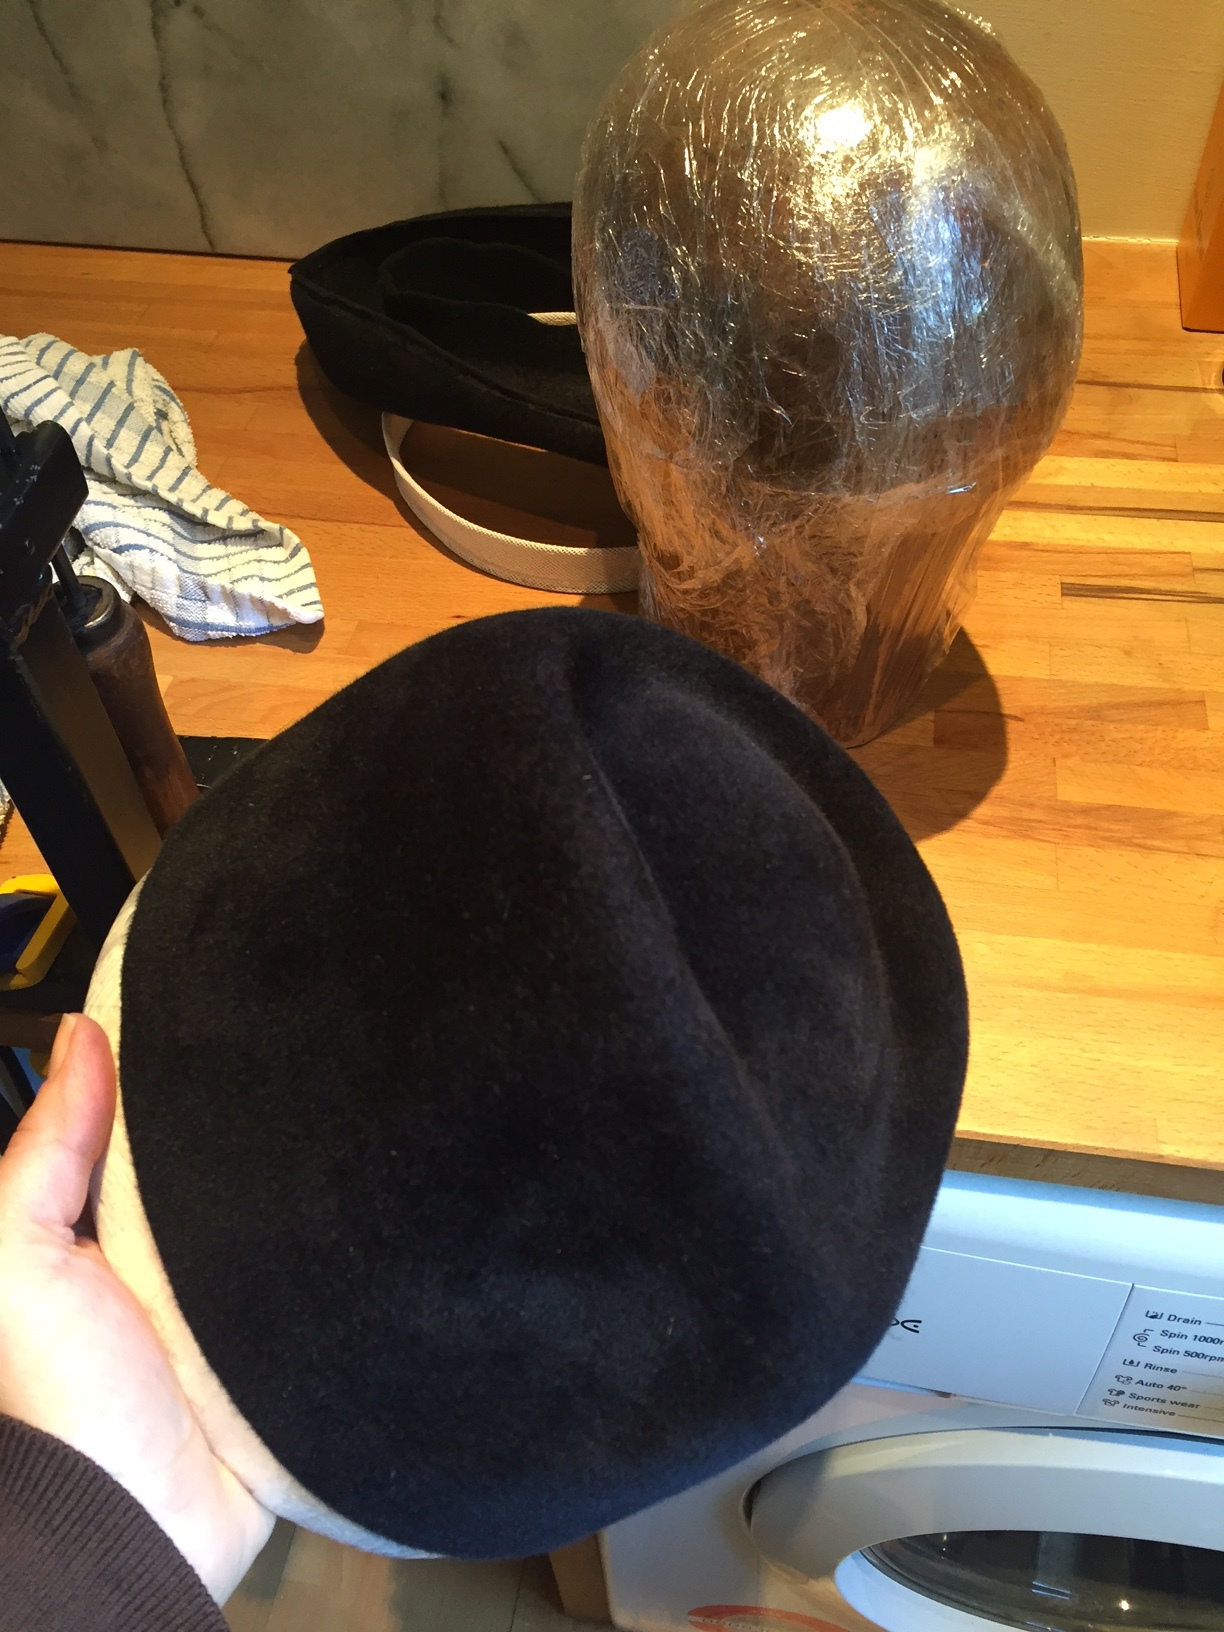
I have since tried putting a few pins into her. The several layers of paper and glue give the pins a little extra bite for blocking or shaping something. I will always cover her in plastic wrap (cling film) while blocking, to protect her and just incase the black decides to bleed if it gets wet.

I encourage you to not give up the quest for an authentic millinery poupée as they are lovely to work with, but a découpage or papier mâché head can keep you working, while you save your pennies.

Tips for découpage or papier mâché.  Thinner paper is more plyable. Thick paper needs to get moistened and soft to contour well. Tear paper rather than cut for smoother edges. Tear smaller pieces to use around the curve of eyes and nose will prevent pointy bits. If your fingers get too sticky, wash them and start again. Let the top dry before doing the bottom, as you don’t want it to stick to the table.

I would love to see or hear about your poupée projects. Please send me photos or post a comment.

Fisherman’s Hat

Making a Fisherman’s Hat has been on my list. I am delighted with my results in denim, a soft red leather, and I even tried it in cork.   

I usually make my own hat patterns, but this time I used the Vogue V9044. I did take some liberties with the pattern.

Simple Fisherman in grey denim and pretty much to pattern.

Fisherman in red leather with interfacing only in the band but generally to pattern. I might end up keeping this one. Love it.

Fisherman in cork going seriously off piste. I have a vision of this in a high fashion photoshoot.

Custom cord, covered buttons, and likely some tassels will trim these beauties. If you are interested in how to make these things, I will be teaching various Passementerie techniques at a workshop during London Hat Week in April 2019.

A slight diversion, my husband said the leather hat looked like a motorcycle hat. Search “bikers hat” for lots of variations. He mentioned Marlon Brando’s hat in particular. the View B crown of the Vogue pattern is closer in shape. Perhaps a mash up of the view B crown & view E band. I find commercial patterns more of a suggestion or starting point. If you give it a try, I’d love to see what you come up with. Happy Fishing.

Viennese Delights

Quintessential spring time in Vienna includes sightseeing, cakes, coffee, music and of course hats & their makers. With so many different delights in Vienna, it was hard to decide where to start, but Szaszi Hatters was a real gem.

Szaszi Hatters since 1858 specialize in high end Gentlemen’s custom made hats.

We showed up without an appointment and were loitering outside the door after pressing the door buzzer when Mr. Shapira walked up behind us. He was stern but welcomed us in through the door, down the hall, into a courtyard of sorts. We waited a moment for him to drop off some keys.

My friends, Andy & Rebecca (who thankfully speak German) and I gawked at hat blocks through the window, and when Mr. Shapira returned, he led us into his workshop.

There is something magical about being in a craftsman’s space, an energy, a vibe. I can feel it. Old wood, used tools, pots, and tins of various concoctions. He showed me a pot of actual shellac which is rarely used in hat making any more, at least within the group of milliners that I know. It appears that Mr. Shapira does everything the old fashioned method and there was even a conformature on the side of the blocking table. His hats are made from very fine straw or rabbit, beaver, or mink fur. I desperately wanted to ask where he gets mink felts, but didn’t want to overstep my welcome. I do feel that I was of some help, as he showed me an unfinished top hat for Royal Ascot. I mentioned that Royal Ascot was in just a few weeks. He seemed pleased with the reminder that the deadline was coming up soon.
When traveling with friends, I have to be mindful that I cannot expect them to be as keen on hat shops and workshops as I am. Some basic sightseeing is required before the hat seeing can begin.

First there was rum, wine and water on the roof top of the Ritz at sunset, then Sacher Torte at the Sacher Hotel, Mozart’s Requiem at Karls Kirsch, Nache Markt for a Viennese lunch, coffee and cake at Demel’s, and finally some Art Nouveau style art & architecture to admire. I was elated to be in the presence of Klimt’s art as well as learning about Egon Schiele and Oskar Kokoschka. As you can see my interests are mostly food, art and craft, however I appreciate that it takes the history of a place to glue it all together.

One of the hat shops was at the Karlsplatz subway station, Collins Hut & Mode.

Conflicted, is how I felt when stumbling across this hat shop as I dashed to meet up with friends. Despite not being able to have a proper look about, I did snap a few photos through the window. I wonder how the crushable red hat looks and feels while wearing it. I was concerned about their signage for a natural straw hat. I know that Panama hats are made in Equador, but just because it is made in Ecuador does not make it a Panama hat. 

Ah, Vienna, nibbling an apple strudel, while admiring hats on the run to meet friends. It was all good.

Mühlbauer have been hat makers in Vienna since 1903. The shop was airy and modern. The lovely woman running the shop at Seilergasse was generous in letting us try on hats and take pictures. There were many inspiring styles. I loved a navy beaver fur hat in a simple shape. The straw cap with a peak has been on my “to make” wish list for years. I liked that their hats have a tags signed by one of their milliners. Another nice touch, is how they indicate the front mark with a stitched arrow, which is simple and effective. They have another retail shop and actual workroom in Vienna. If I make it back to Vienna I will definitely go visit them.

Next door to Szaszi Hatters was Pelzhaus Fuss. Discovering something wonderful along the way is one of the best parts of travel. Pelzhaus Fuss specialize in fur and leather, however Spring hats are generally straw and cloth, and it is Spring, so only a few fur pieces were on display. The real highlight for me was the mural, freizes and the ceiling decorations. I was told they have been there 100 years.

I am such a hatter/milliner fan girl, it is a bit ridiculous and thankfully my friends were kind and generous to embrace my excitement and delight in meeting Mr. Shapira and visiting his workshop as well as the other lovely hats and shops in Vienna.

Gustav Klimt  is one of my favorite artists and it was a thrill to see The Kiss and Judith up close.  I also enjoy capturing the hats from hats painted through the centuries.  Napoleon’s bicorne is magnificent.


A train ride to the lovely village of Melk on Monday afternoon allowed for dinner in the square. The next day was a visit to the Melk Abbey which has the library of my dreams and two gorgeous globes. One globe shows California as an island off the west coast of North America. I wish I had a picture. They also had a couple special exhibitions on color and texture. Both were enjoyable and interesting.

After visiting the Melk Abbey we hired bikes and rode through the Wachau wine region and along the Danube to the village of Krems.

We had intended to ride along the south side of the Danube, but the path was closed. We had to go along the north side and I am so glad that we did. The villages and the vineyards were lovely but most importantly we rode into the village of Willendorf where the Venus of Willendorf was discovered nearly 110 years ago on 7th of August 1908. They estimate her date at 24,900- 23,900 years BCE. In real life she is 11.1 cm (±4 inches), but they’ve placed a much larger statue of her at the discovery sight, and she looks over the Wachau valley and Danube River. I would do that cycle ride again, but with a little more time to allow a few stops for some tasting along the way.

I hope you enjoyed Hattin’ Around through Vienna with me. If you’ve been to Vienna, what were some of your favorite things?

How to Pack a Hat Box

This is a pictorial on how to pack a basic hat in a hat box . This is appropriate for basic men and women’s hats. Unless you have a mother/aunt/grandmother who wore hats and used hat boxes or you worked in the industry, how are you suppose to know?

Check the Size

Choose the right size box is the first step.  Keep in mind that the hat is always the right size. 🙂 I am using the medium size, Hattin’ Around Hat Case, which is perfect for my grey fedora. The grey straw would better fit in the large Hat Case. If it is too snug of a fit, there isn’t enough space to create a protective impact zone with tissue paper. The gold trilby would be better in the small sized Hat Case.  If there is too much space you will need loads of extra tissue to keep it from moving around. The hat box dimensions are in the Hattin’ Around Hat Case link above.

It is all about the tissue

The tissue paper protects the crown while it supports the brim. You need to crumple & rumple the tissue to give it more body and structure. Don’t wad it into a hard ball or leave it too loose and floaty. I good medium amount of rumple is perfect.  

Always use acid free tissue but what about buffered, acid free tissue? There is a really good blog post about buffered vs. unbuffered storage materials, which discourages using buffered storage materials with protein based textiles such as wool, silk, and feathers, which are common in high quality hats.

Make a layer of rumpled tissue across the bottom of the hat box and around the sides, creating a nest for the hat.  Pack the crown with tissue to help it keep its shape. Settle the hat upside down into the nest. Add more tissue around the sides or if there are gaps. Finally, add another layer of tissue across the top to protect the hat from impact against the lid.  Packing a hat when there are large trimming elements to consider will have to wait for another blog post.

Finishing Touches

The use of a compliments slip was something I started doing since moving to the UK, but I like that it walks a line between formal letter head and a casual note. The compliements slip includes the important business contact details with space for a short personal note. I also like using a beautiful A5 (±1/2 Letter) photo marketing card.

The Hattin’ Around Hat Cases have durable, easy to use buckles to secure the lid. See my post on How to Assemble a Hat Box if you are using a flat pack cardboard hat box, as they frequently do not come with assembly instructions.

Connect the additional strap 

Hattin’ Around Hat Cases (small, medium & large) come with an additional strap that can be used to carry your hat case on your shoulder or on your back, which keeps your hands free and makes for easier travel. 

I will work on a follow up post that offers some tips on how to pack a hat with special trimming such as long feathers or large bows.

How to Assemble a Hat Box

Confusion and embarrassment may result the first time you try to assemble a flat pack cardboard hat box. Some people may make you feel silly for not knowing how, but cardboard flat pack hat boxes frequently do not come with instructions. Once you’ve done it a few times it much easier but threading the cord handle almost always requires a few moments of thought. I hope this pictorial makes it easier.

The three parts are the box, the cord handle and the lid. This box comes with a cord that has a flippy metal bit on the ends. 

Assemble The Box

Lay the box flat and notice which flap is smallest, it folds down first. The larger flap locks them both in place.

Start to open the box and turn it upside down. Start on one side and press the small flap down level with the base. This is the finesse part.  It takes a bit of pressure but try not to be too heavy handed. Then press the large flap down, until it sit on top of the small flap, then press until they pop through to the inside. The base will fold in a bit, but will come back into place.  Repeat on the other side.

Flip box over and make sure the flaps and the center of the base have all locked together securely.  

NOTE: Check to make sure this is the proper size box for the hat you are packing, before you go through the rest of the steps as it is much more efficient to store the boxes flat than assembled. If you picked the wrong size, go to the bottom and follow the directions for collapsing the box.

Attach The Cord Handle

I am sorry about the duct tape to support the holes. I have managed to tear at least one hole in all of my card board hat boxes, with no new pristine ones at hand when writing this post.

Start on the side with a single hole (A), this is the bottom when the box is standing on its side to be carried. Poke the cord through the hole from the outside to the inside.  Flip the metal bit perpendicular to secure it or tie a knot if there is no metal bit.

Take the other end of the cord over to the other side which has three holes. Thread the cord from the outside to the inside through the single hole (B) closest to the open edge of the box.

Thread the cord from the inside to the outside of the box in either remaining hole, but I’ve chosen (C). Once on the outside of the box, draw cord through long enough to thread back down into the final hole (D), across from the previous hole (C). Flip the metal bit perpendicular to secure the final end or tie a knot.

Assemble The Lid

Lay box lid decorative side down. The folding creases are in place to guide you. Fold up the three sides that have pointy flaps on the edges. Fold in the flappy pointy bits at the crease, just a little to follow the shape of the lid.

The remaining three flaps are folded twice. The first fold is from the body of the lid, then fold the flap in half in toward the inside of the lid. There is a little notch that will pop into a cut out on the lid body.  Often the factory cut cardboard piece is still in the hole, but will easily pop out. Repeat this process for all three sides.

Put It Together

Position the box on the table, pack the contents of the box. Place the lid with the stripes of the lid going in the same direction as the box. It is rare that the stripes line up precisely as I would like. There are two sides where the stripes go in the same direction, I like the side that is smooth and doesn’t have the cut out from the lid flap.

Pull up to cord at the handle carefully to not tear the holes.  The cord will secure the lid to the box when you hold the handle.  I think this is rather clever. If this doesn’t work, you have possibly threaded the cord handle incorrectly, see images below. You will need to re-thread the cord handle.

Success – you are good to go

Collapse The Box

Take the lid and the cord handle off the box. Flip the box upside down, the press down of the flap sides until they release the lock from the center base. Pull the largest flap out first, it is a little fiddly.  The smaller flap will follow easily.

Caution: A light weight hat in a large cardboard hat box will act like a kite in the wind. If you don’t want to whack your new box & hat on a nearby light post or worse a passerby following a gust of wind, you may need to hold the handle closer to the box and loop a finger through the cord that secures the lid.

Good luck.

Cycling in Germany along the Danube

We did something new for this summer holiday. Cycling with family and friends along the Danube in Germany.  In my case it was Hattin’ Around the Danube.

How do you like the cycling caps I made for everyone? I used a free pattern by Dill Pickle. The pattern, instructions and caps were great, however I found the pattern ran a little small. Most of us needed the “large” and the 23.5″ (59.6 cm) head needed the “xl”. We used fabric pens to sign and decorate the caps.

Regensburg, Germany was a great place to start our trip. Architecture, history, river, good food and the start of what could be called the ice cream trail. It also had the best hats & hat shops of the trip.

HutKönig is a long establish hat shop with an excellent reputation and helpful staff. The couture felt hats were gorgeous. I loved the shapes, the colors and layered trims.

Take a look at their old glass tank steamer and hidden behind, a burgundy embosser with gold tape. Mental note, add embosser to the hatting/millinery equipment wish list.

I took loads of photos of hats, but this little miniature millinery shop was too cute to leave out of the post. They are made from real straw, felt and lace. I love digital zoom.

HutKönig actually had 5 hat blocks for sale. All of which were for small head sizes, but I can put a sock on it. I decided on this one after much deliberation.  I was hesitant to buy too many hat blocks on the first day of our trip, although the tour company moved our bags from place to place.

Lilo  is a marvelous small hat shop. Lilo, herself, was absolutely lovely and kind enough to take a few minutes to talk with me. Her hats are charming and her look is distinctive. I saw a few of her hats in boutiques elsewhere in Regensburg and recognized them as Lilo’s.

Straubbing, Germany was met with a hot and exhausted group of cyclists. I brightened up when I saw this adorable little fellow in a straw hat with his parents in the town square. 

I spotted one hat shop called Luise Danner der Hutladen, but sadly we were pedaling again the next morning before they opened.

Deggendorf, Germany was the smallest of the towns we stayed in. It was also the shortest day of cycling which is good as it had been very warm for this London based family. We arrived early enough to have a look about and the hat shop was still open.

Olga’s Hut und Mode was several rooms, upstairs with a friendly poster of Olga, pointing the way. Olga was in the shop and kindly allowed photos, but we had language issues. I told her about my blog and gave her a card, she nodded and then showed me a selection of blue hats. To be fair, blog starts with “B” and my card has a blue hat on it. If only I’d followed through with my Duolingo German lessons.

Passau, Germany is where the confluence of three rivers join, the Inn, the Ilz and the Danube. They are often represented by three colors, Green, Black and Blue respectively.

I located one hat shop, Edelweiss & Rosenrot but they didn’t want any photos inside the shop which is unfortunate as their displays were upholstered in bright green moiré.

It was a wonderful trip with loads of ice cream for the kids, a fair bit of käse spätzle (German style Mac n’ Cheese) which just might be my favorite german food and the guys enjoyed a little beer.  Fun, friends, family, cycling and hats. It was a good holiday.


My Birthday Hat – Mini Topper Sinamay

My life does not have nearly enough “occasion” hat wearing opportunities, so when I was approaching a milestone birthday I decided it was going to be a hat event.  A mini top hat (topper) would be perfect, festive and small enough for easy travel.

I have wanted to make a mini topper for ages. What is it about things in miniature that are so appealing? Beautiful dolls houses, tiny baby clothes, exquisite Fabergé eggs, even well made Barbie clothes I find intriguing. My hats isn’t super tiny, maybe I should call it a midi topper?

Without a firm plan in mind about trimming and nor a 5 piece top hat block, I set to learning how to make a mini topper in sinamay on a buckram and wire framed block, with the mentoring of Edwina Ibbotson during her evening Hat Class.  The mystery was how to get it off the block once it is has dried and been stiffened. If you practicing millinery, you will notice the under cut of a waisted topper as a red flag. Unless you use a 5 piece block that you can take the block apart to extract it from the hat rather than pry the hat off the block, an under cut means you either carefully cut the hat, or destroy the block, neither seemed a good choice for a sinamay hat.

What I Learned…

      • To get the hat off the block without damaging the block or creating a cut edge on the straw, wrap the straw to meet in the back then fold the raw edges to the outside on the first layer. It is tricky to get it to butt together and stay put. I used lots of pins. The second and third layers are butted with the ends folded to the inside. Also use a wide petersham ribbon to hold the waist in while dries. Once off the block you have to sew each layer closed. Starting with the inside layer.

    • It is made in three pieces, the brim, the crown and the tip (top of the crown), make sure you mark the matching up points, especially for the “round” crown & “round” tip.
    • Making a band for an asymmetrical hat with extreme and changing angles is really difficult. I finally fashioned a pattern out of some bias muslin. It was not perfect but that is okay. I used the flaws to guide some of the flower placement.

  • Working within the hat to make invisible stitches between the layers was challenging.  I feel good about the quality of finish I achieved.
Inside finish with covered seams.
Outside wired edge finished with a bias band.

There are lots of steam punk mini toppers which are fun, but I was looking for something lighter. I have a thing for grey and I had some amazing silver little wired stamens from Masario, which I was hankering to use. I had some leftover grey silk georgette that I loved working with on a previous project and experimented to create little bias cut flowers with a dusty pink bead for the center to add just a hint of warmth.


I was sewing the last bits on just an hour before my birthday party. I am delighted with the result.

I have since carved a mini topper block myself and made a variation in felt. It is a different technique with felt. Hopefully I can do a “What I Learned…” for that hat soon.

I would love hear if you have ideas on how to work with an undercut hat block.

Cheers, Leanne

Studying with Marie O’Regan

I was lucky to have a chance to study with Marie O’Regan, a couple of times this January and I hope to do more. There are some who have been studying with her for 10 years. She has taught many of London’s best milliners. You can hear Edwina Ibbotson, mention her in a previous podcast/post, Their Journey into Millinerys with Edwina, Rachel and Noel. She also taught Ian Bennet, who I took a feather class from a couple years past. The list goes on and on.


This is one of Marie O’Regan’s poupeès and I love it. I can feel the years and the people whose lives have been touched by Marie, her hats and her teaching.  If you just see an old tattered head, you are not a milliner yet.

Marie will be 92 this year and has been doing Millinery since she was 14. She is from France and retains a lovely French accent but has been in the UK for decades. She has been milliner to the Queen, taught at the London College of Fashion and instrumental in starting the Worshipful Company of Feltmakers annual hatmaking contest. There could be books written and movies made about her, but that is beyond the scope of this little blog post. I will focus on the things I worked on, with her tutelage.

The day starts with coffee and biscuits while the students discuss with Marie what they plan to be working on. We move to a work table, and Marie moves around making sure everyone has what they need and can begin working. She will take her place at the head of the table, often with a poupeè between her knees to show placement, technique and design.

I have learned that with these types of work/study classes, it is best to come with a couple different ideas and materials.  However, I believe the key to a successful day and getting the most you can out of it, is to relax into the flow and see what amazing nuggets of knowledge the tutor will offer in the process of doing some millinery project.

On day one, I brought 3 different hats with questions about head fittings. However as I went through each piece with Marie, she would ask what else I brought. Until I selected the last piece, a blocked orange cloche. That captured Marie’s attention and the focus became the trimming of the cloche. I had blocked it months ago with vision of a layered ribbon trim. I’d made several trips to V.V.Rouleaux a lovely ribbon shop in London which has a glorious selection of ribbons including Petersham. I ended up with some striped grosgrain ribbon to coordinate with the petersham ribbon from Parkin Fabrics that matched the felt.


To my distress, I was instructed to put slashes along the sides and an angle.  It was emotionally difficult to cut into the body of the felt, as that was not at all what I had in mind, but again. I reminded myself that it is only a felt and a bit of blocking time, I followed Marie’s lead to see where it would go.

I tried curving petersham and placing it in various layouts on the hat. I learned that if you are going to weave in and out you need to have an even number of slits otherwise it doesn’t end correctly. I don’t know why I always forget to take a picture of how it looks on the first try until I’ve finished taking it apart.

I learned that it is technically difficult to keep the slits a the right angle and distance when the hat itself is changing shape from front to back. Marie could sense that I was struggling and that I needed to let that project simmer a bit to decide what I wanted to do next.

At, midday the dining table is set and she served a lovely lunch which included a glass of bubbly. The French know how to serve a lunch.

In the afternoon, I was gifted with an opportunity to see Marie work with an egg iron to shape buckram into a new hat block. Marie is not only a remarkable milliner and teacher but also a sculptor.

I watched her look at an original shape and then a piece of flat buckram, then with a sure hand she lightly moistened the buckram with a damp piece of calico, then pulled the buckram over an astoundingly hot egg iron, see photo at the end of iron in the fire. The egg iron was covered briefly with another piece of damp calico, to generate steam and protect the buckram. The calico was frequently wisked from hot egg iron and moved to a new damp spot.

A second piece of buckram was added to fill out the shape and then a wicked hot small metal iron and a pressing pad, was used to fuse the two pieces together at the join.

The second day started with me trying to explain and idea about a removable brim for a hat, but that idea did not gain much traction. Marie had a different idea, she offered me an unusual twisted buckram shape which she wanted me to shape myself, using the technique she taught in the previous class, with the egg iron and the little flat iron.  There is still much work to be done to make either of the two shapes useful, but the experience was very rewarding.

Here I am wearing Marie’s block that she pinned into shape, so that I could see the balance when it is put together. I love the creativity of the shape and if it looks this good in spartarie and a knit stocking, just think what it can be in a bright coloured sinamay or felt.

One of the things I like best about millinery is that the techniques of 100 years ago, still work.  Flat iron, egg iron,  kettle and some fire along with a bit of calico, water, pins and pressing pads, with a few basics the millinery opportunities are endless.

To wrap up, it was a total thrill to see Marie manipulate the buckram with such simple tools and immense skill.  Unfortunetly, I have two new partially made shapes now to add to the massive  unfinished projects list. I hope to return for more classes.

Feather Class with Ian Bennett

Feather Dyeing, Cutting and making a Feather Mount. The thing with these classes are that in many cases I have the general idea of how to do these things, but it is the little tips and tricks of people who are experts that you pick up by taking a class or working with them in person that makes a huge difference. It is also great to learn different techniques. So learning how to dye and cut feathers from two different expert milliners is not a waste of time, in my opinion.

class feather dye results
Results of feather dyeing in class

I took a great three evening feather cutting, dyeing and feather mounting class at Kensington and Chelsea College, here in London with milliner Ian Bennett.  Ian gave out some lovely pages of notes that included his sketches, which were very helpful. I must admit to sketch envy. I would love to sketch well. You can get a glimpse of an Ian sketch in the corner of the image above from the results of my in-class dyeing.

Acid dyes are best for protein based fibers such as silk, wool and feathers. I experimented using some Jacquard dye I had from a previous silk dyeing project. The dyes were already in liquid form and I diluted them more, so my colours were not as bright as some, however I did like the softness of the muted colours.

I got a tripped up with the 24 hour time the night of my first class.  I saw 18:30 on my calendar, and later remembered 8:30, rather than 6:30.  I was embarrassingly late. I got the notes, but it just is not the same as being there.  Ugh!

A few highlights

Sharp, long blade scissors, lightly pinch the spine, support the blade.

How to cut a feather
feather dyeing at home
Feather dyeing at home

Nugget 1 – The ability to dye feathers (and other stuff) is one of the key elements to making unique one of a kind hat or head piece. Being unique helps enable you to charge couture prices for your creations.
Here is my dyeing station at home, aka the kitchen counter. I started with yellow, added a little blue, then added a lot of blue.

Do not boil the feathers, actively dry feathers, especially ostrich so the will return to being fluffy and not look bedraggled.

Nugget 2 – Feathers have personalities. This may seem obvious, but I grasped it on a different level after this class. You can trim them and change their appearance, but consider the “feeling” you want when making a feather mount.  Some feathers are spiky like Biots and others have a “sharpness” like Turkey feathers. On the softer side, with a swaying movement are Coque feathers while a full ostrich feather offers a soft roundness. What about eye catching drama from Lady Amherst and Peacock feathers? Use them to create a tone and establish balance.

my first feather mount
Feather mount made in class

A feather mount is a collection of feathers that are combined onto a wire, so they can be placed on your hat as a single unit. Mine feather mount included goose, biot, hackle and a little bit of ostrich.

Nugget 3 – When making a hat, if you handle it too much it can look tired before you are even finished. By creating feather mounts you can conserve the amount of manipulation you need to do to the hat.

I have put my dyed feathers to use for my daughters school play. I am making 6 head pieces (aka fascinators) for the girls.

dyed feather fascinator
Dyed feather head piece in progress
dyed feather head pieces
Dyed feather head pieces – Pink, Green & Yellow

A Hat for My Husband

I have finished my first hat for my husband. I think he looks very handsome in it and you know…. Interesting people wear hats. This hat is a midnight blue fur felt trilby with a simple leather band trim.

jeff 8 midnight felt common

Here are some photos of the process… at this point he wasn’t too sure about this whole hat thing.
jeff 1 midnight felt start

He is still uneasy about were things are going
jeff 2 midnight felt 2 pieces

The brim is being blocked using a brim block that I carved last summer in Jane Smith’s block carving class at Morley College.
Jeff 3 midnight felt brim

Jeff is tall and my original crown shape had a fairly deep crevice in the top which made the hat sit high on his head. The combination would have made riding the London Tube a little difficult. I didn’t want to carve a new crown block so it was time to do some hand shaping.  I was able to combine steam from my kitchen kettle with an egg iron in a stand (thank you Susie Hopkins), a head block, along with some tips from a great video on hand shaping a hat by Kevin from Pork Pie Hatters. It took some time but looks much better.
jeff 5 midnight felt hand shape 2

The hat is getting closer and Jeff is starting to believe that it might actually be wearable in public. There was still a significant amount of cutting, brushing, sanding and stitching to go, but I was getting excited to see the finished hat on Jeffrey.
jeff 7 midnight felt almost done

He wore his new hat to the Hidden London Underground tour we took last weekend at the Charing Cross Tube station. It was a good tour and he looked so handsome in his fur felt trilby, despite the high vis vest.
jeff 9 midnight felt hidden tour

Hatting Happiness is both of us wearing hats I’ve made. I love my green velvet 8 piece cap with hand dyed silk lining.

and remember… interesting people wear hats.