I have dozens of things to write about from my Hattin’ Around adventures. Blocks, feather dyeing, new shops and vintage hats.
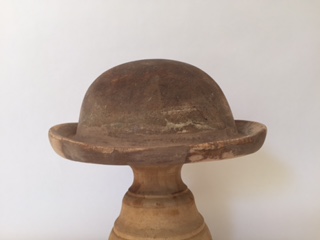
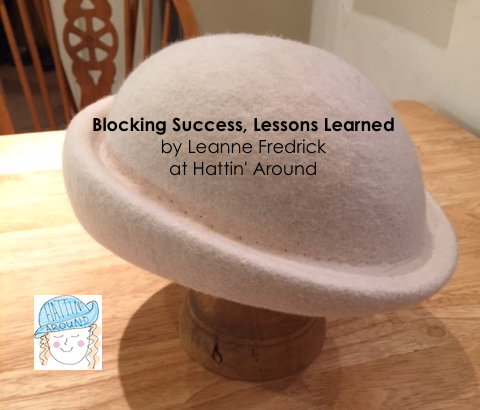
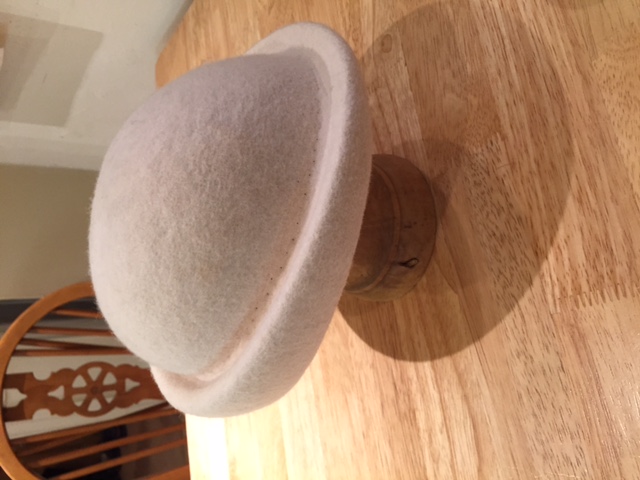
This post is about my vintage Bowler Block from Victoria Grant. My repair efforts were a total success! See what repairs I made in a previous post, New Old Bowler Block Repair. I am completely in love with this new block. I sprained my left thumb and got minor steam burns on my hands trying to block with it and it took me three tries to get it done satisfactorily, but isn’t she pretty.
Tips curtesy of the Bowler Block
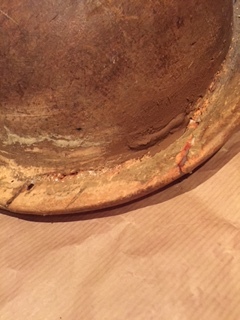
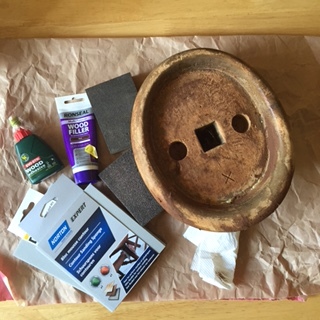
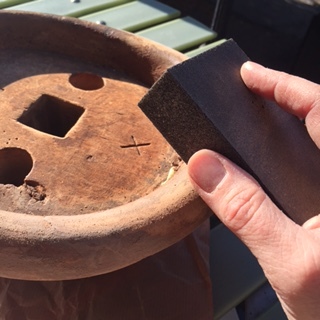
- Wood glue and filler really does work to repair a block. It held surprisingly well.
- Cover the block in two pieces of plastic. One for the gully between the crown and the brim and another to cover the hole thing, then cut the gully open. This is important to protect the block from the moisture and stiffener as well as protecting the felt from discoloration.
- Make sure a wool felt is really wet before blocking. I first tried just a good steam, but the felt that I had previously stiffened was not flexible enough. Then I gave it a good soaking, wrapped it in a tea towel put the bundle in a plastic bag and put the bag in the refrigerator for several days. Then steamed the felt until dripping and blocked it. It still was not easy, but it was do able.
- Pin down the crown first. I tried doing the overall piece first, pinning under the brim, thinking I could then just press the gully into place. It did not work. But pinning the crown first with a piece of torn cloth twisted, pressed and pinned into the valley worked very well.
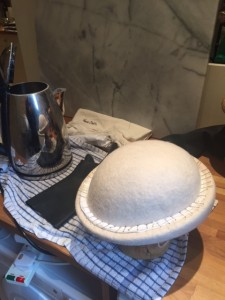
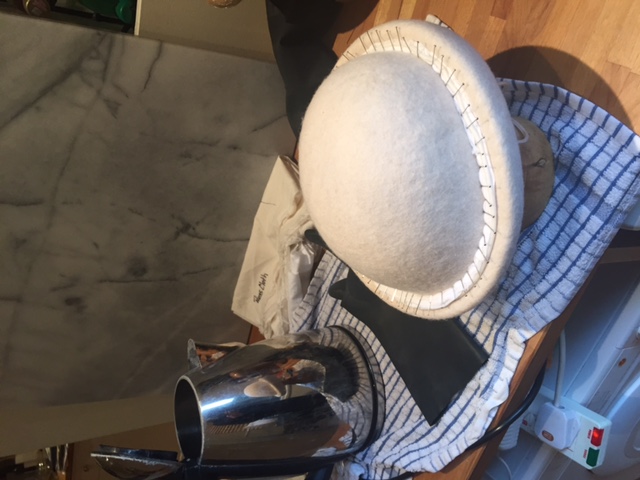
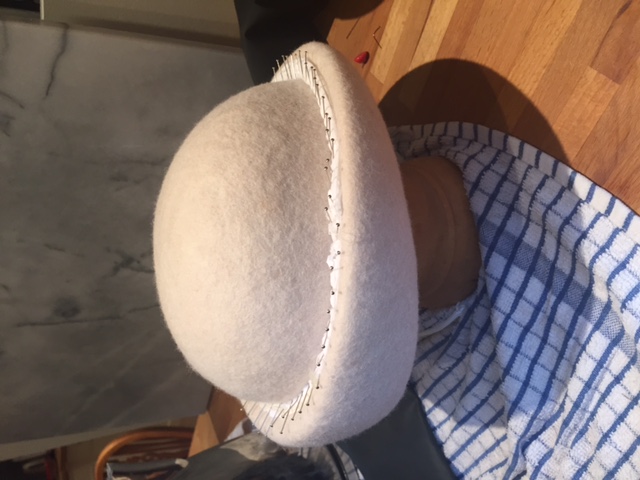
Bowler finally blocked 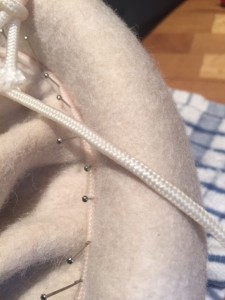
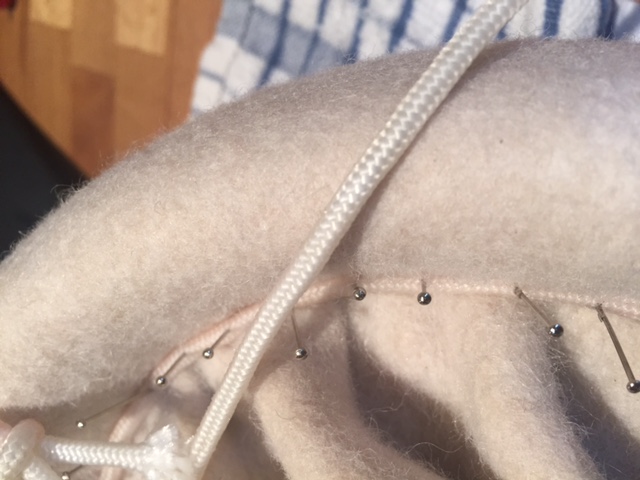
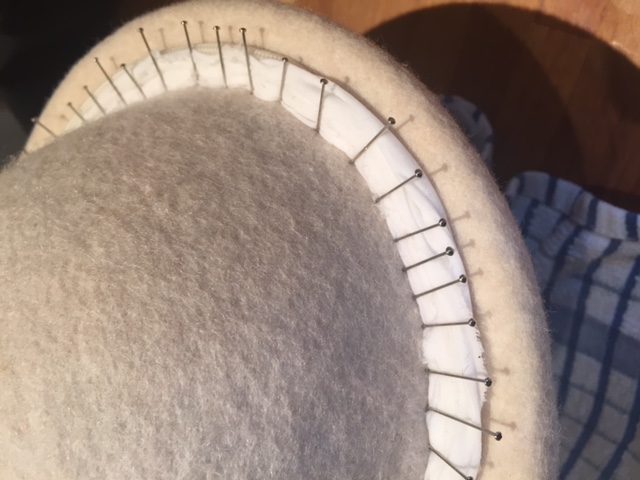
Blocking pins and rope working together 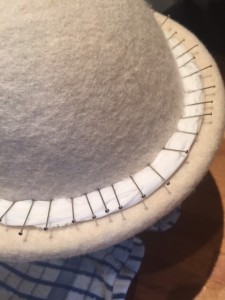
Close up of blocking the gully between crown and brim 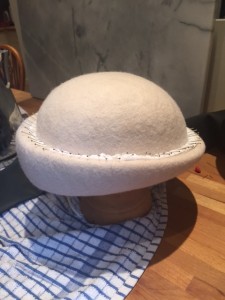
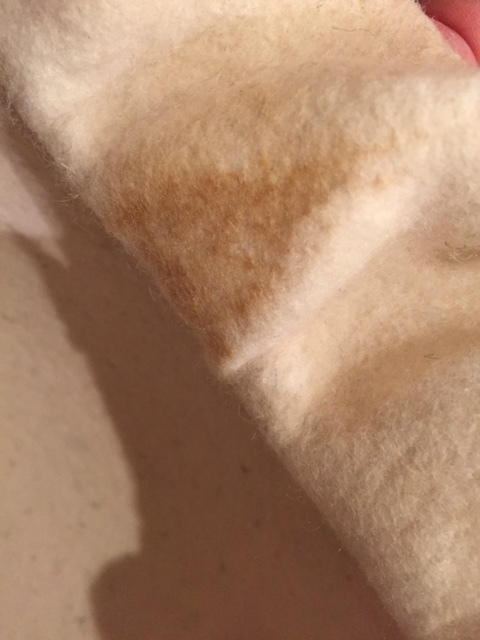
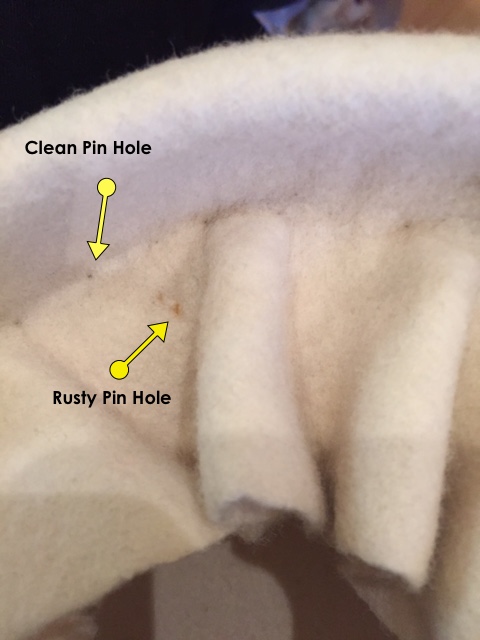
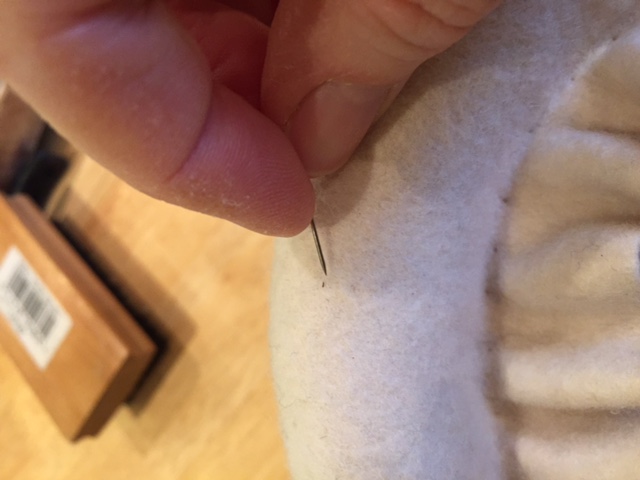
Side view on the block - Caution: rust risk between white felt and metal pins. Pins these days are not what they use to be and my first attempt left me with a few rust marks. Use fresh pins and set the felt to dry immediately after blocking. I do not have a drying cupboard, so I used the oven on its lowest setting, turning it on & off with the convection setting on to circulate the air. The oven door left open a bit to release moisture and not get too hot. Whew! no rust. The rusty pin hole on the excess felt from my 1st attempt was cut off. No one will every know.
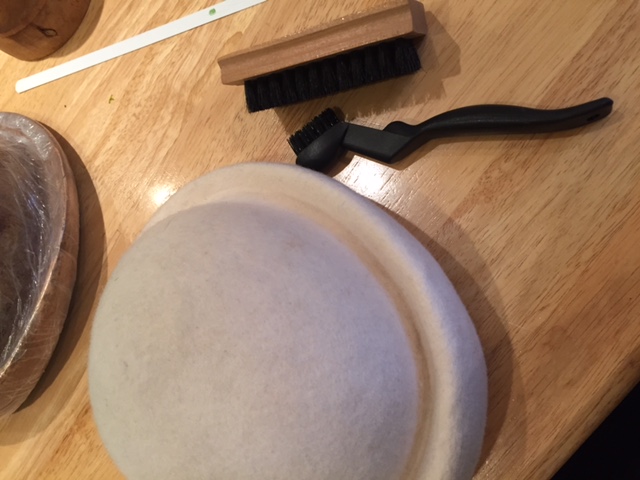
- Brushing makes a difference. Brush the felt and scrape a pin over the pin holes to rough up the felt fibers. It is beautiful and I haven’t even trimmed my new bowler hat yet.

Points 2, 3, 4, 5, & 6 were all bits I learned with advice from Edwina Ibbotson’s Hat Class on Monday nights.
Now for the trimming.

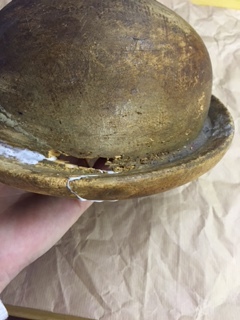
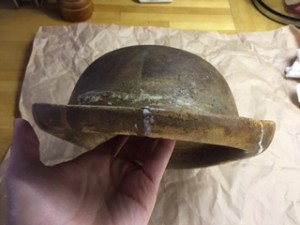
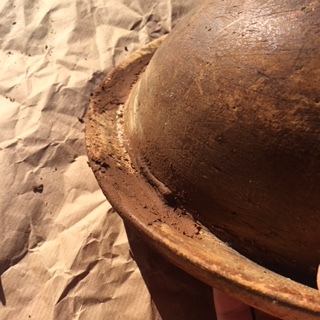
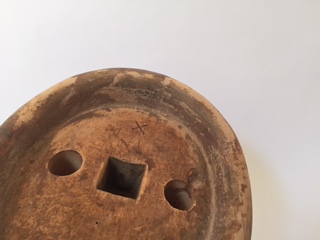
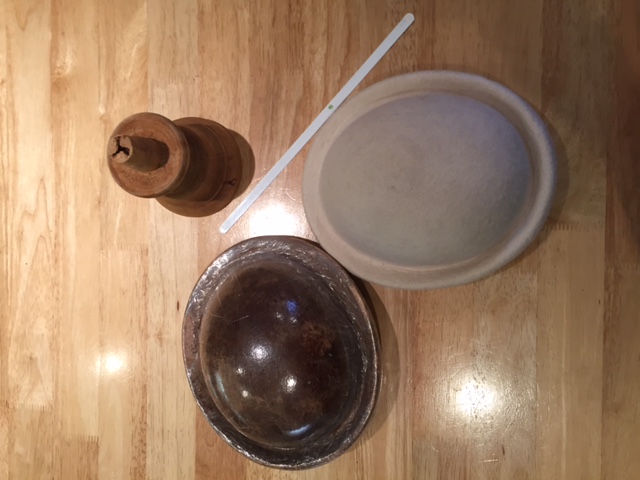
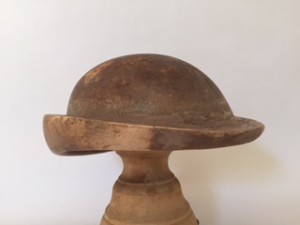 I spotted a lovely old hat block, a modified bowler and I was hooked. However there was tape along the front. I ran my finger over the edge, to see if I could feel any chips. The outside edge felt sound, so I decided to take a chance. All the way home I was envisioning hats I could make with this new block.