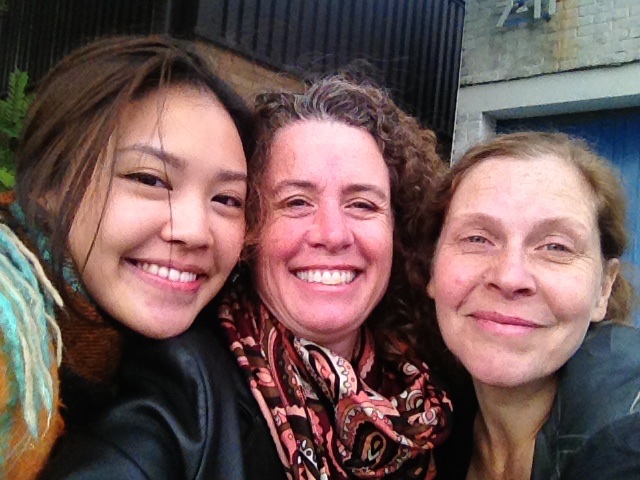
It was autumn 2013 and I was surprised with an invite to join Edwina Ibbotson and another apprentice, Mee on a field trip up to Luton to visit three millinery suppliers.
This was originally written years ago. I am delighted to say all three vendors are still trading in Luton, UK. Why am I posting this now? I was working on my latest article for The Hat Magazine #86 about the differences between how Hatters use hat blocks verse how Milliners use blocks and I needed images. Photos have been trickier to get during the Covid lockdown.
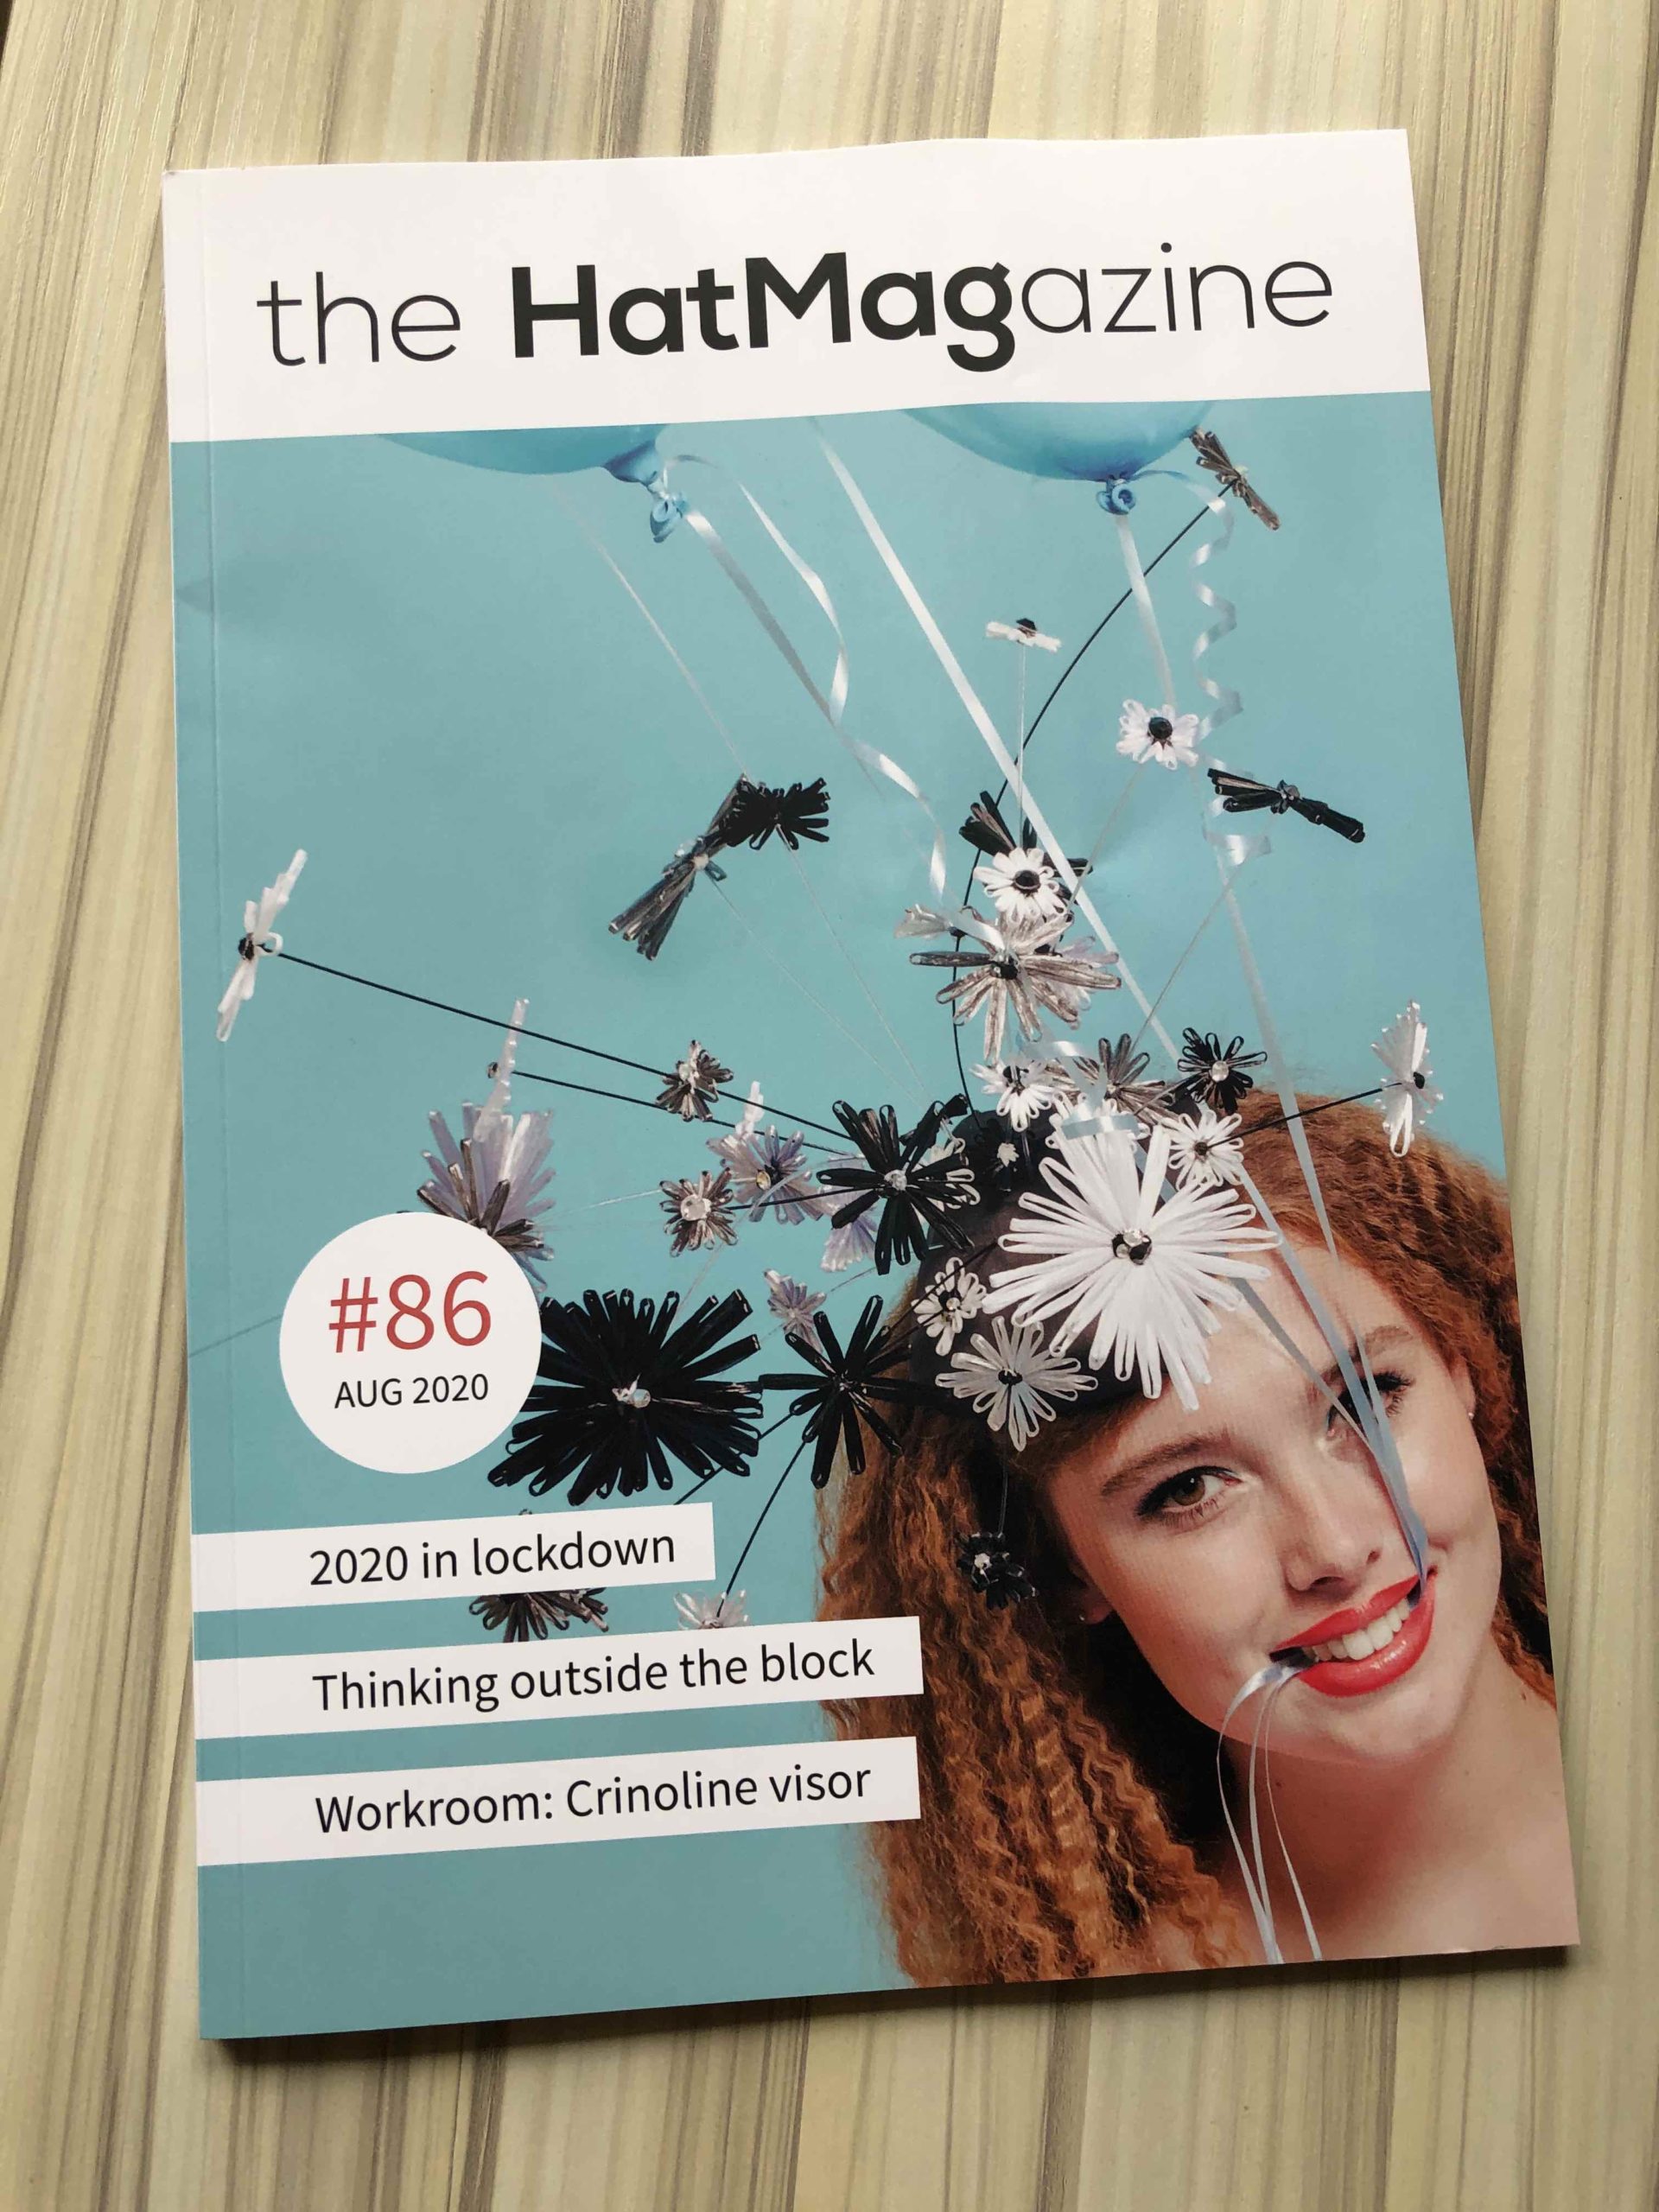

I knew I had images of the Boon & Lane block makers, but I could not find them. Crazy frustrated, I let it go and waa-laa, like magic, a few days after the finished magazine* arrives in the post. I stumbled across the blog post about my trip to Luton, UK on an old neglected website I wrote prior to Hattin’ Around. There was also an embarrassing early attempt at a podcast, but I am going to leave that behind for now.
I hope my reminiscing about hat related discoveries in Luton will bring you joy as it did me. I also don’t want to lose it again.
Back to the original blog post…
Boon & Lane the block makers, Baxter, Hart & Abraham suppliers of felt, straw, and petersham, and Randall Ribbons suppliers of feathers, flowers, an endless array of sinamay colors and much more.

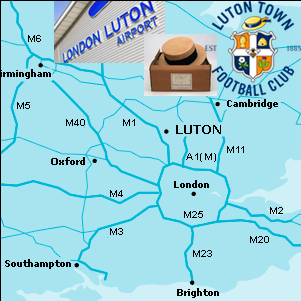
We drove to Luton in Edwina’s light blue vintage Mercedes. That is an experience unto itself. It took me a while to figure out how to do the old hook and magnet seat belts. The journey to Luton is about 40 miles through London and took nearly 2 hours, but we arrived mid morning at our first destination, Boon & Lane.

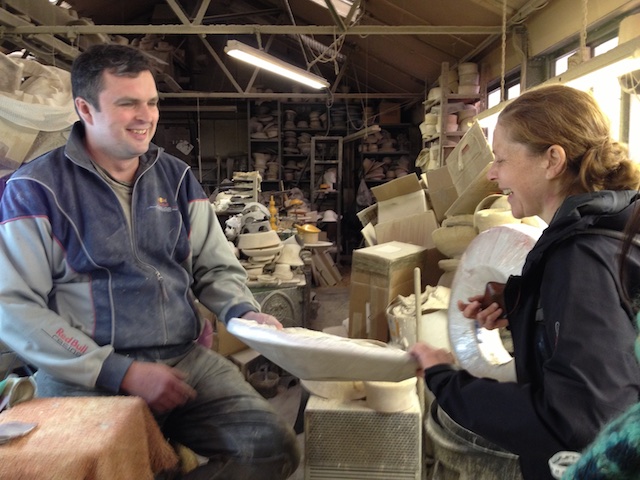
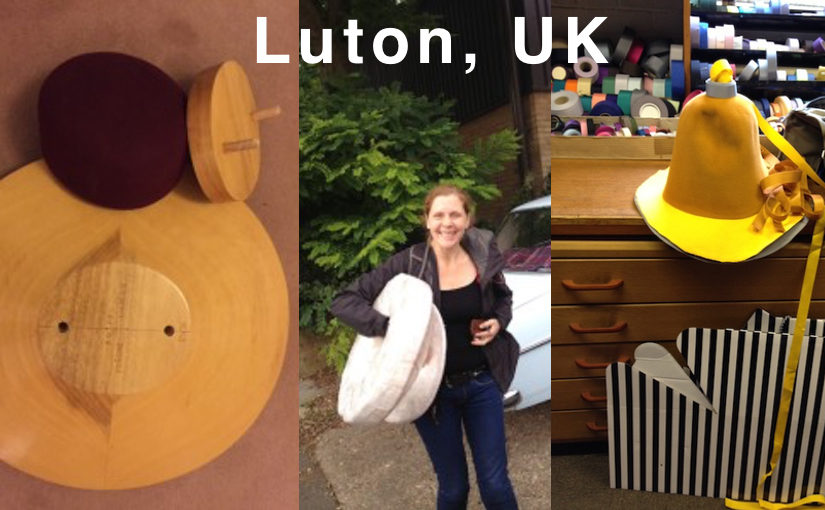
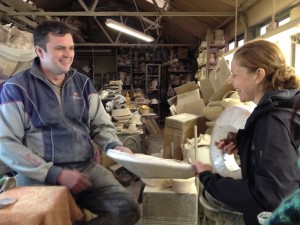
Boon and Lane are the block makers. This was an experience to remember. There were two men working in the block factory that was filled with wood and sawdust on one half and different types of sand on the other. They make both wood and aluminium (also spelled aluminum in the USA, so the reason we pronounce this word differently is that it actually spelled differently in the UK vs US) blocks. The aluminium blocks are used for industrial use, where they are attached to a heating device and there is a top and bottom piece that clamps together to form the hat shape all at once.

Alan Davies and Steve Lane make everything. When I was there, Alan was working on wood blocks while Steve handled the sand packing in preparation for the molten aluminium. They were welcoming and generous with their time. Explaining what they were doing, the stages of making a hat block and showing Mee and I the various pieces of equipment.
Thus far in my hat career, I’d done very little blocking, but I was completely seduced by being there. As you are sure to have guessed, today would be my first custom made block purchase.
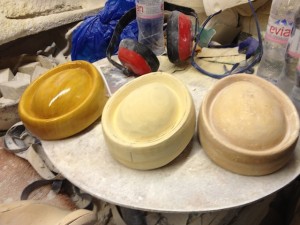
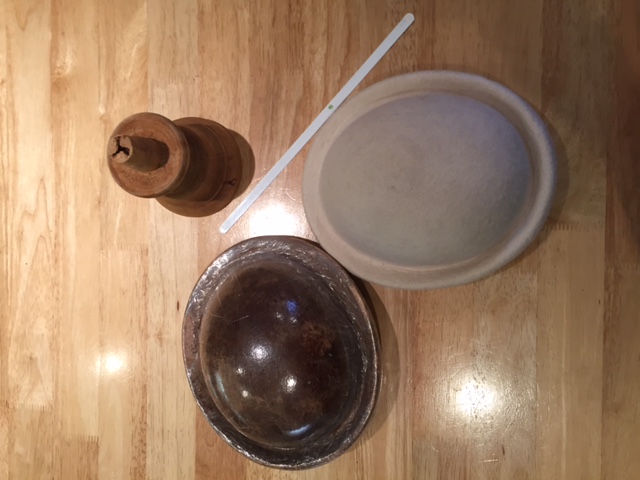
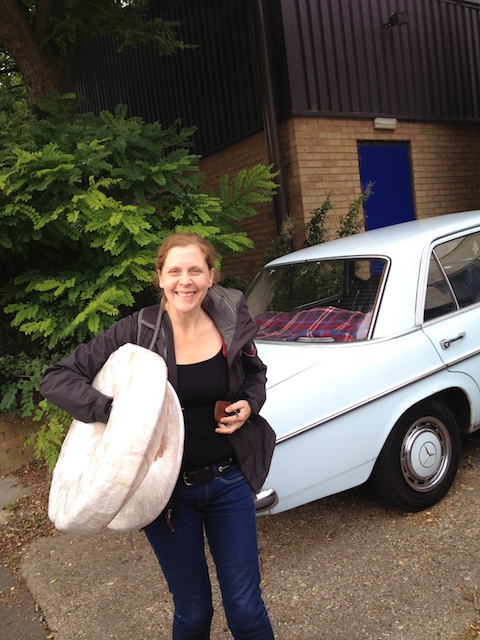
I choose a large downward flat 45 degree brim block and an oval head shaped flat topped crown block with slightly rounded edges (known as a square crown), to contrast the domed oval crown block (known as a round crown) I had in my very limited collection. It took a couple of months for the blocks to be made. Shortly before Christmas, Edwina came back one day with her new blocks along with my freshly varnished crown and brim blocks.
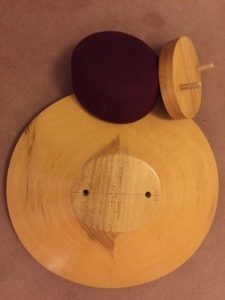
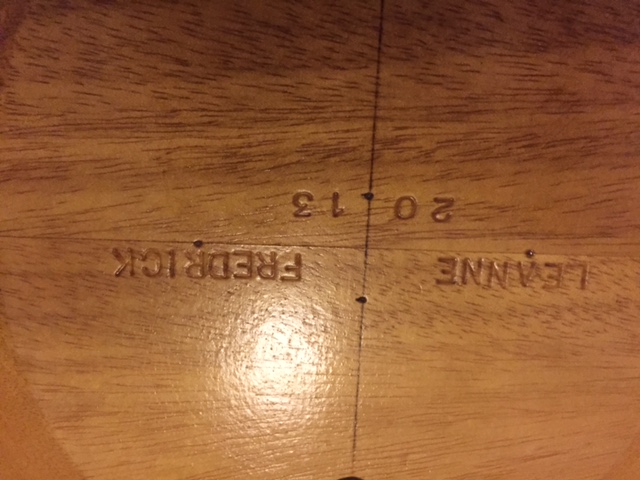
They were beautiful shiny golden yellow with my name and the year stamped into them. The excitement was only dimmed a bit as I tried to figure out how I was going to get this massive brim block home on my bike. Alas, I could only manage the crown block that day on the bike, I’d have to wait and bring it home on the bus a couple days later.
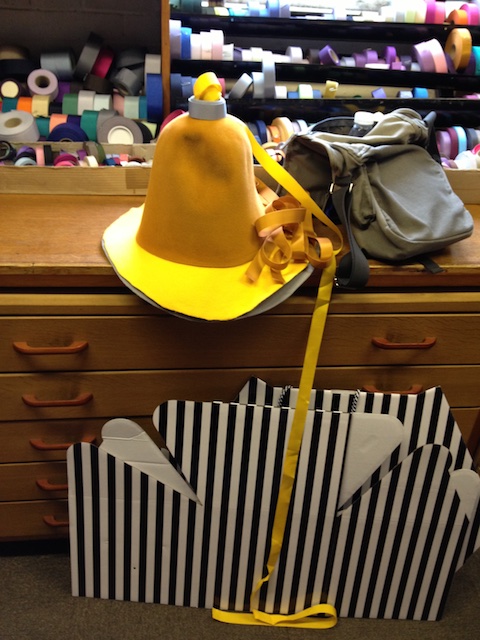
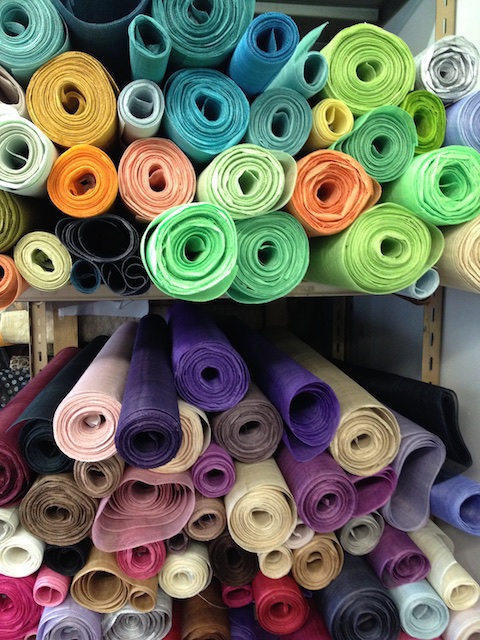
Next stop –Baxter, Hart & Abraham, suppliers to the millinery trade. This place is tidy and well organized. The textile junkie in me thrilled to touch the various different felts. Wool felt, fur felt, and the really furry felts called Melusine. Then there was the colors. My shopping strategy goes, walking around and gather everything I want. Then doing a mental subtotal of how much it will cost. Feel anxious about how much I have. Then putting back some of my treasures, until I don’t feel the sense of financial panic. I bought several wool felts to practice on without too much financial impact, but my prize purchases were a yummy small (cone) cognac (gold) and a beautiful large (capeline) grey fur felt. It was glorious and I was so nervous at messing up the fur felts. I envisioned a gray (grey) large brimmed hat with a fairly simple crown that I could wear all winter. However, it wasn’t going to be that winter that I’d get to wear it. [Update: I made a trilby with the cognac and fedora with the grey, which I still wear today]

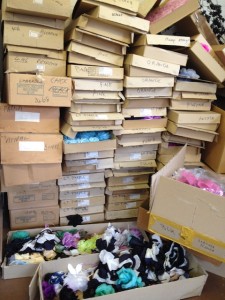
Last stop- Randall Ribbons, the makers of all things feathers and flowers. They had a minimum order. Their website says a minimum order of £30. I did not spend anything at Randall Ribbons.
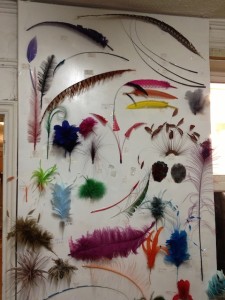
I think I was a bit overwhelmed by this point. I had placed a rather sizable order at the block makers, and purchased enough felt at the millinery suppliers to keep me busy for a while. And honestly I just could not envision how I would trim these new hats of mine. I would have bought a simple hat pin or something, but with a minimum order, I left with nothing. I cannot say the same for Edwina or Mee.
We only went to three places, but it was a full day. Many thanks to Edwina for the tour of Luton and Mee for being a newbie like me. It was nice to be able to listen to someone else’s questions.
Prior to moving to the UK, I’d never heard of Luton. Since the field trip, I’ve heard Luton mentioned several times in relation to the hat making and millinery industry. Luton was very active in the making of straw hats in their hay day. Which became more real to me because I have just begun taking a strip straw class at Morley College with Jane Smith.
…The end
It has been a pleasant walk down memory lane. I admit to making a few revisions.
*Many thanks to Elly Stemerdink for the fabulous photos for the hat block article.